Open Water Certifications offer an earned respect for those who were able to accomplish difficult tasks underwater, and of course, under pressure. Literally. But what happens after the certification?
During your Open Water course, you may have learned that there are several classes you can take with your dive shop, and you should engage in those. But how do you gain confidence to start those courses? The good news for divers is that building confidence with diving usually requires more diving. And doing it in a beautiful, tropical, warm and guided place makes it easier and fun. But if you do not have the opportunity to escape for a week of diving, you can still work on your skills locally.
Build Confidence in Scuba Diving
No matter where you dive, these tips will help get you on your way to becoming a more confident diver. Consider taking along an experienced diver, a Dive Guide, Divemaster or an Instructor with you on your next dives and glean any information you can. Asking questions, discussing fears and learning are all great things to do as you progress in your recreational diving adventures.
Before you dive: Be sure to note your starting PSI and make preparations to record your ending PSI, depth and time.
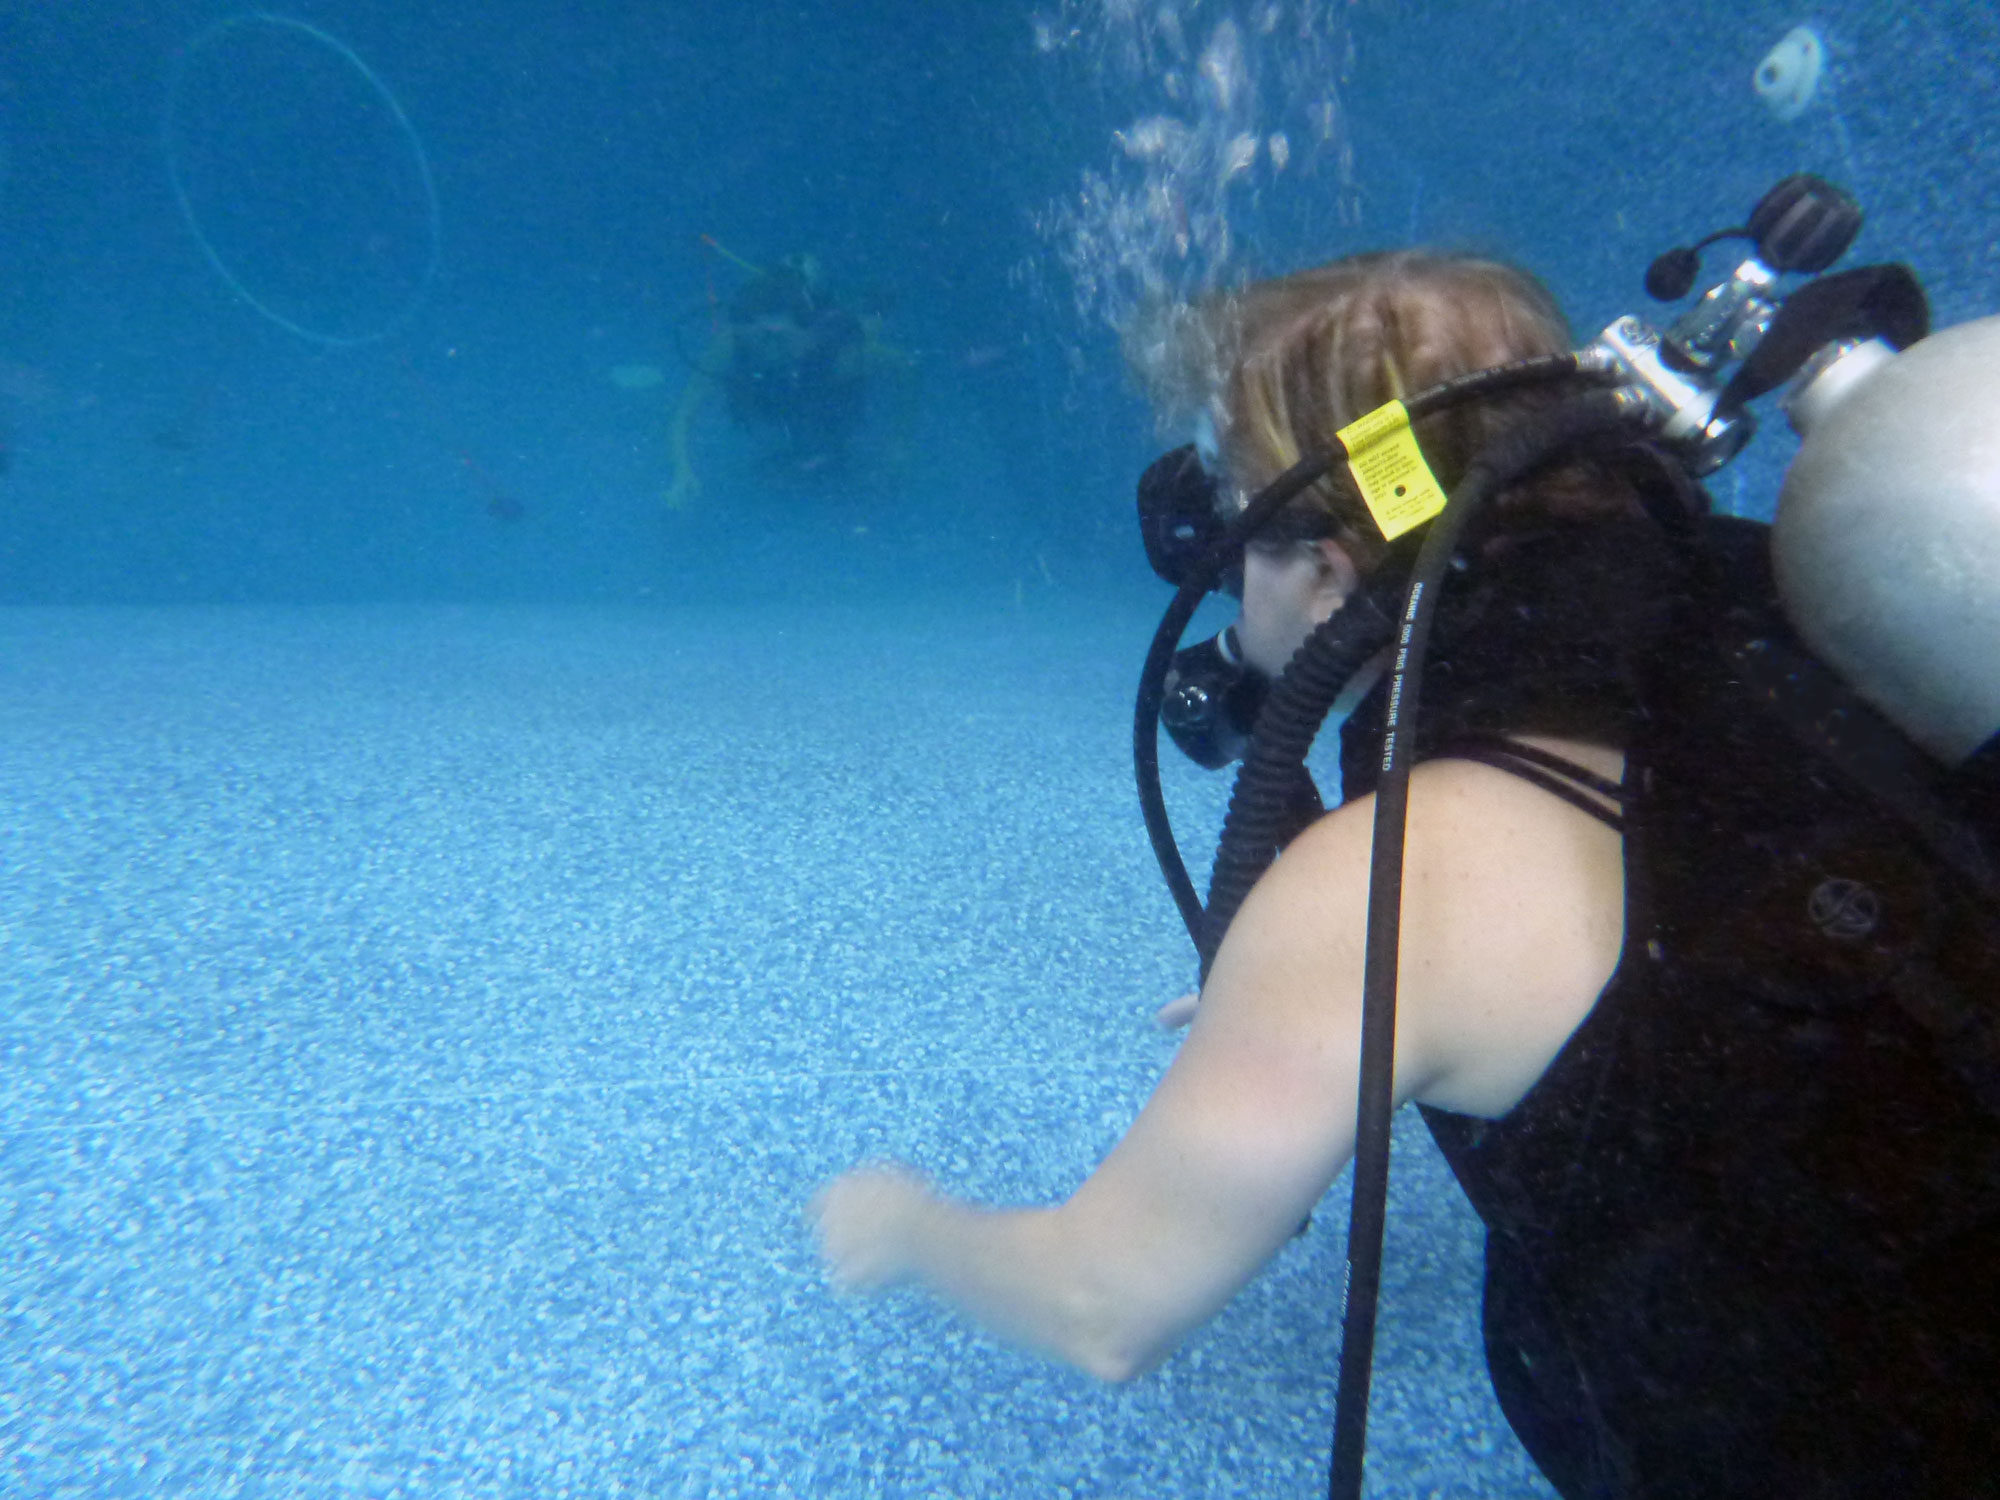
Dive One: Calming and Awareness
-
Calm Down
Easier said than done, “calming down” is more than a mental task, it’s a full-body task that can be practiced underwater, right away. Start with a simple shore dive over a sandy or open area and practice calming your entire body. Start with your hands and arms, relaxing them as much as possible. Now is a good time to notice if you are treading water unconsciously. See if you can simply fold your arms and get your breathing down to a resting pace. This is a great time to begin holding your depth gauge – try using two hands, to keep your hands busy while you relax. Next, stop kicking – see if you can simply float, lifelessly, in the water. It may seem uncomfortable at first, but you can do it!Once you feel how little you need to do underwater, the better you can be at working on your buoyancy control.
-
Perfect Your Buoyancy
If you’re ready to venture out into the open water with your new c-card and gain confidence now, begin with relaxing. If you are moving excessively and using your arms and hands for balance, your buoyancy will be disrupted by your movements.Once you have adopted the “lifeless” pose in step one: swim up to a an anchor line, a pier, or anything that gives you a visual reference. Pick a spot on that reference point and see if you can keep your depth within 2-4 feet by using nothing but your own breath- no hands, no feet, no kicking. Simply hover, lifelessly. Soon you will realize how “you” float in the water – you may notice your feet sink, bringing your body more upright. Or, you may find your weights are uneven, tilting you to one side or the other. These are great things to note as you start being body-aware!
-
Test your SAC
If you haven’t calculated your Surface Air Consumption, try it out. Log your starting pressure, ending pressure, time and depth with the above two dives. Be sure to note what size tank you have, and if you don’t know – ask! Also, if you are altitude diving, be sure to calculate your altitude adjustment depth using an altitude chart. Then, plug in your numbers to an SAC calculator. Write these numbers down in your log book each dive and watch as your numbers start go down as you gain comfort with scuba diving.
Dive Two: Kicks
-
Be “Kick” Aware
In Open Water classes, you likely learned the dolphin kick and standard fin kick. Now, think about how the dolphin kick requires you to use your entire body. Standard fin kicks engage the largest leg muscles in your body. Larger muscles require more blood flow, which requires more oxygen and thus, more air usage. Diving is not a cardio workout, it’s quite the opposite. Start your second dive being very aware of what muscles you are using to propel yourself. Are you using arms, legs, large muscles? Remember to calm yourself and get your buoyancy under control first.
-
Limit Cardio with Minimal Fin Kicks
Start your second dive on the anchor line or pier once again. Get your buoyancy where you need it, and breathing rate normal. Remember, you are holding on to your depth gauge with both hands, to prevent yourself from “swimming”. Now, using only one ankle and one fin and see if you can turn 180 degrees. Next, use the other ankle to turn yourself back. Keep practicing this until you can maintain buoyancy and make a full circle using just your ankles and feet.
-
Learn to Frog Kick
Using both ankles, see if you can propel yourself forward. Again, you are only using ankles, rotating your feet to propel yourself forward. The movements should be minimal. Now, add a little more leg for a little more power. The strength of your kicks will likely not be as strong as they would be with a standard fin kick with straight legs, but you’re not trying to out-swim a shark, you’re just trying to move forward using as little effort as possible. Again, be sure again that your arms are not involved.
Dive Three: Breath and Hover Control
-
Learn to Hover
You’ve now learned how to be calm, how to control your buoyancy with breath, and kick with minimal effort. Now it’s time to get over that sandy area and dive to depth about one foot above the bottom. You don’t need to be in deep water – maybe 10-15 feet is sufficient. Now, attempt to skim across to bottom, maintaining your depth.The goal is to see if you can swim forward 10 feet without stirring up any sand or silt or touching the bottom. Can you do it?Keep practicing this skill and perfecting it so that you can use it while approaching marine life, looking at corals and other interesting things. This is a great skill to keep in your arsenal, every first dive of your vacation or after a long period of diving inactivity.
-
Breathe Using Your Entire Lung
You will find that breathing in air will always brings your body up in the water, and breathing out brings your body back down. As you swim over varying terrain, you’ll find that simply breathing in or out will help you get up and over small obstacles without having to kick. Of course you need to pay attention to your depth as you do this, so be conscious again of your depth.
-
Breathe Out
The first rule of scuba diving is to never hold your breath. This still holds true, even if you are trying to lift your body up with breath while swimming over a coral head, rock, or obstacle. For each breath you take in, you may feel the need to keep breathing at of the top or bottom of your lungs to maintain your buoyancy. Remember that carbon dioxide builds up inside of your lungs if you do not breathe out properly. When you hold your breath, carbon dioxide builds up. Breathing shallow can also build up carbon dioxide in your system. Holding your breath does not stop metabolic processes, and though your are not entirely holding your breath, you still must expel the excess carbon dioxide.If you feel dizzy, lightheaded or out of sorts, be sure to breathe out deeply several times and check your depth. Nitrogen narcosis and carbon dioxide build up can cause you to feel similarly. If you do start to feel these symptoms, reduce your depth and exhale deeply. And if these symptoms continue, communicate with your buddy and return safely to the surface with a normal decompression stop.
These tips are a great way to help you learn how to control your buoyancy. Be aware of your own body movements, depth and surroundings as you gain confidence as a new diver. If you haven’t been diving for a while, these tips will help you get back into the feeling of diving and help prevent stressful incidents that can occur from diving inactivity.
And if you haven’t signed up for your next scuba class, visit your local dive shop and see what piques your interest!