Tales From the Camera Housing: a series designed to help you prevent mistakes that may ruin your dive, camera, or footage.
Mistake 2:
Trying float an underwater camera housing by trying to beat the laws physics into submission.
Physics Schmysics
The first clue given by the underwater camera housing was the excessive amount of flotation at the surface. In all fairness, anyone understanding Boyle’s Law or basic diving physics can explain that pressure increases as depth increases. In theory, a float on an underwater camera housing should be able to become more negatively buoyant as the diver drops down.
My first thought was: “why not just dive it down until it gives in to the pressure of the deep and becomes negatively buoyant”? The problem became evident after running out of depth before the negatively buoyant part came into play.
The Field Trial
The field trial didn’t go well, or there wouldn’t be an article posted about it.
The housing produced (my best guess) ~ 3lbs of lift, despite the .66lbs of lift stated in the manufacturer’s specifications. Then I realized that perhaps the .66lbs of lift was actually .66lbs each, not total, despite the kit specs from which they came. The specifics were not in fact, very specific. Additionally, I had a wide angle dome lens, which added another bit of unspecified lift.

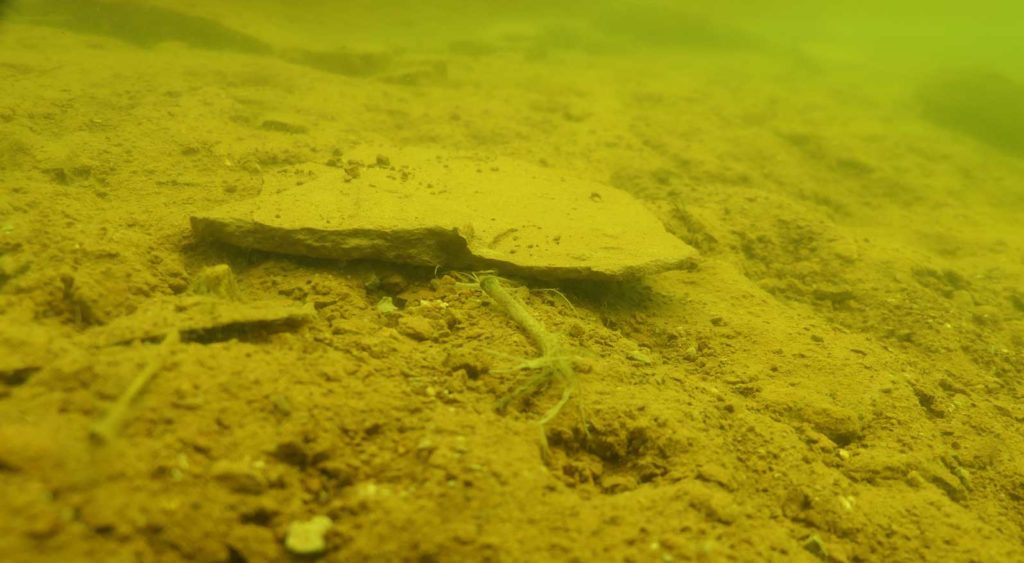
The field trial left with a mad kick from the surface in low visibility, as air filled the feet of my drysuit. This was followed by the anxious grabbing of varying rock sizes at the bottom to counter the upward pull. And finally, a 33 minute dive, carrying a rock while trying to manage ISO and white balance settings in high turbidity…with dry gloves, in 39 degree Fahrenheit water.
The takeaway from the trial was a strong need to “go back to the drawing board” and do a little math.
A Little Math
- The housing, per manufacturer’s spec: “slightly negatively buoyant”
- The float arms, per manufacturer’s spec: “300g lift”
- The dome port, per manufacturer’s spec: “not specified”
- The tray, per manufacturer’s spec: “Shipping weight: 1.3 lbs”
- Additionally, “most specs” are determined in freshwater.
I found the specifications lacking in usefulness which could have saved me bit of agony on the trial dive. The float arms and shipping weight were “specific” in weight and lift, and yet the sum of all the parts together was anybody’s “wild ass guess”.
Prevention
To prevent this disaster of a dive, what could have been done? Math didn’t help. Specs didn’t help. Diving against physics didn’t help. Rocks seemed to help, but finding the proper rock size and knowing its gravitational weight at 5000′ feet of altitude and 20ish feet of depth, turned out to be a lost cause. Ultimately, it didn’t matter anyone because the batteries were dead. Field trial fail.
Resolution
First, limit factors. Give up the idea of actually taking pictures and video. Decide ahead of time, the dive is ONLY for determining float, and nothing more.
Second, choose your own adventure:
- Write each manufacturer for more specifics, and hope they come through.
- Field trial #1: Bring more equipment on the next dive (weights, floats, some sort of containing unit to independently manage both floating and sinking objects).
- Field trial #2: Determine the flotation/sink of each individual part and create a plan of action, charts, graphs, weights and measures until the underwater housing universe is conquered.
- Get more rocks. When the right one is found, keep it.
